Last time when I talked about MadMapper, I shown you how easy is sending a layer from CoGe to MadMapper. Now I show you how to send and use multiple layers, in 2 possible ways.
The basic idea behind this technique is sending only one layer which includes multiple sources, then divide it in MadMapper. First off all, the most important thing is setting up the required rendering settings in CoGe:
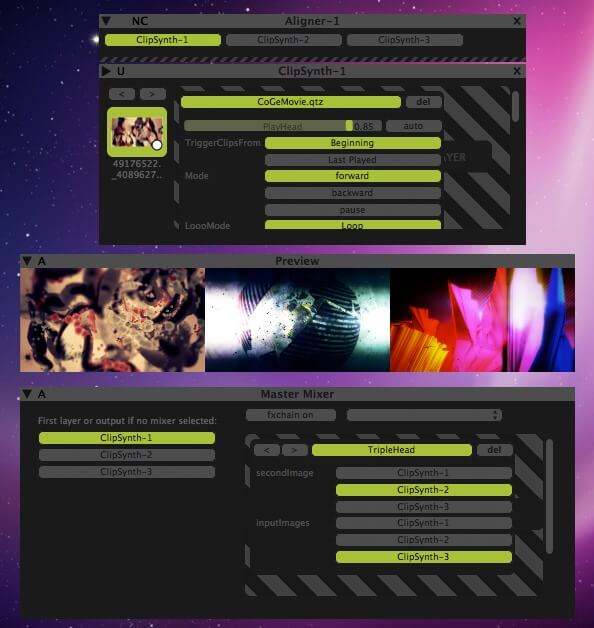
CoGe deals with 2 types of rendering sizes. The Main Output Rendering Size is the dimension of the outgoing picture from the Master Mixer. We can set up a different rendering size for layers (ClipSynths, SyphonSources and VideoInputs). After we decided how many layers we want to use, we should change the Main Output Rendering Size's Width to match the following formula: layerwidth x number_of_layers. We will use layers with 640x360 resolution in this tutorial.


Using just 3 layers is the easiest solution. You just need to create 3 layers - 3 ClipSynths for example - then load the TripleHead mixer module - from the Heads2Go category. This module will do the rest for us: placing the 3 layers next to each other.

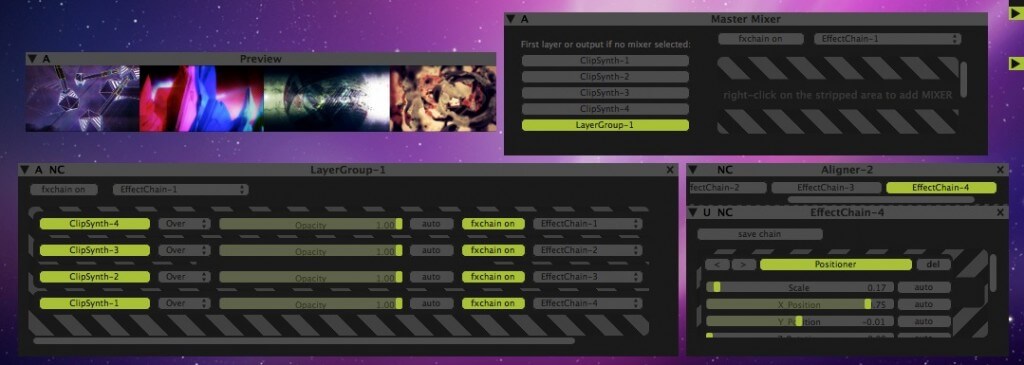
For more then 3 layers you can use a Layer Group, put all layers you want into it, then create an EffectChain for each with the Positioner FX, then scale down and position them next to each other.
 ]
]
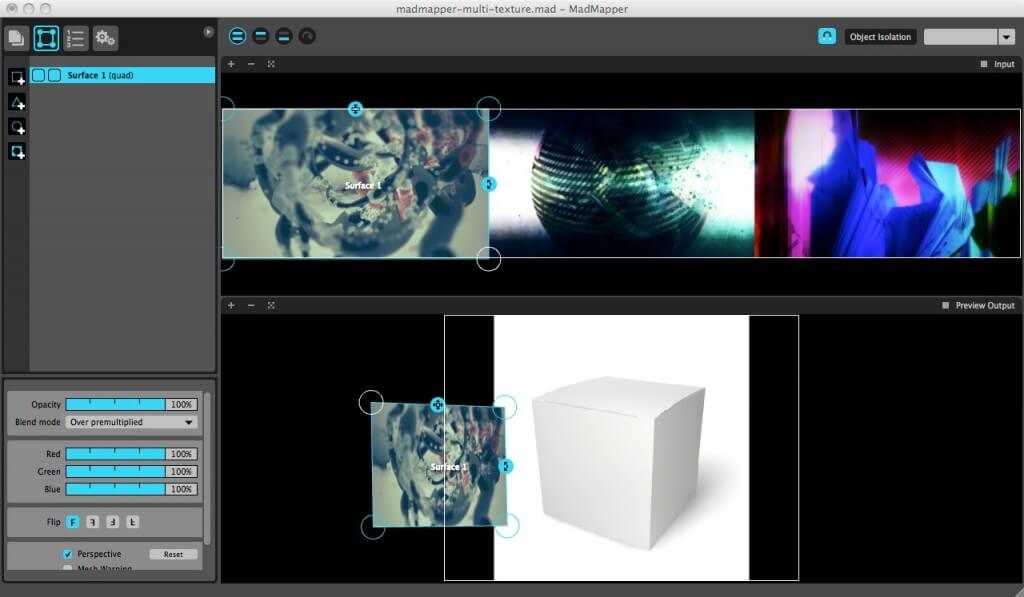
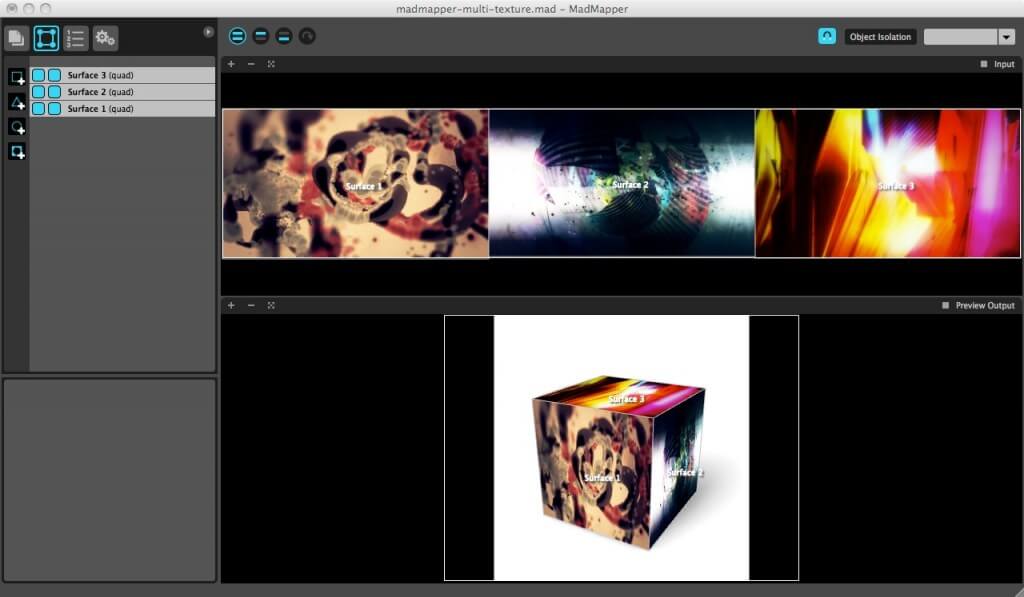
If you done all the steps below, open MadMapper then create as many quads as you want and split CoGe's Master Mixer Syphon texture to smaller pieces - you already know those steps from the previous MadMapper tutorial. But some tips: you can switch the viewing orientation to horizontal in MadMapper by hitting Command-Shift-O, and in the Menu/View/Change Preview Background menu item you can load a suitable background picture.


That's all folks - for now!